

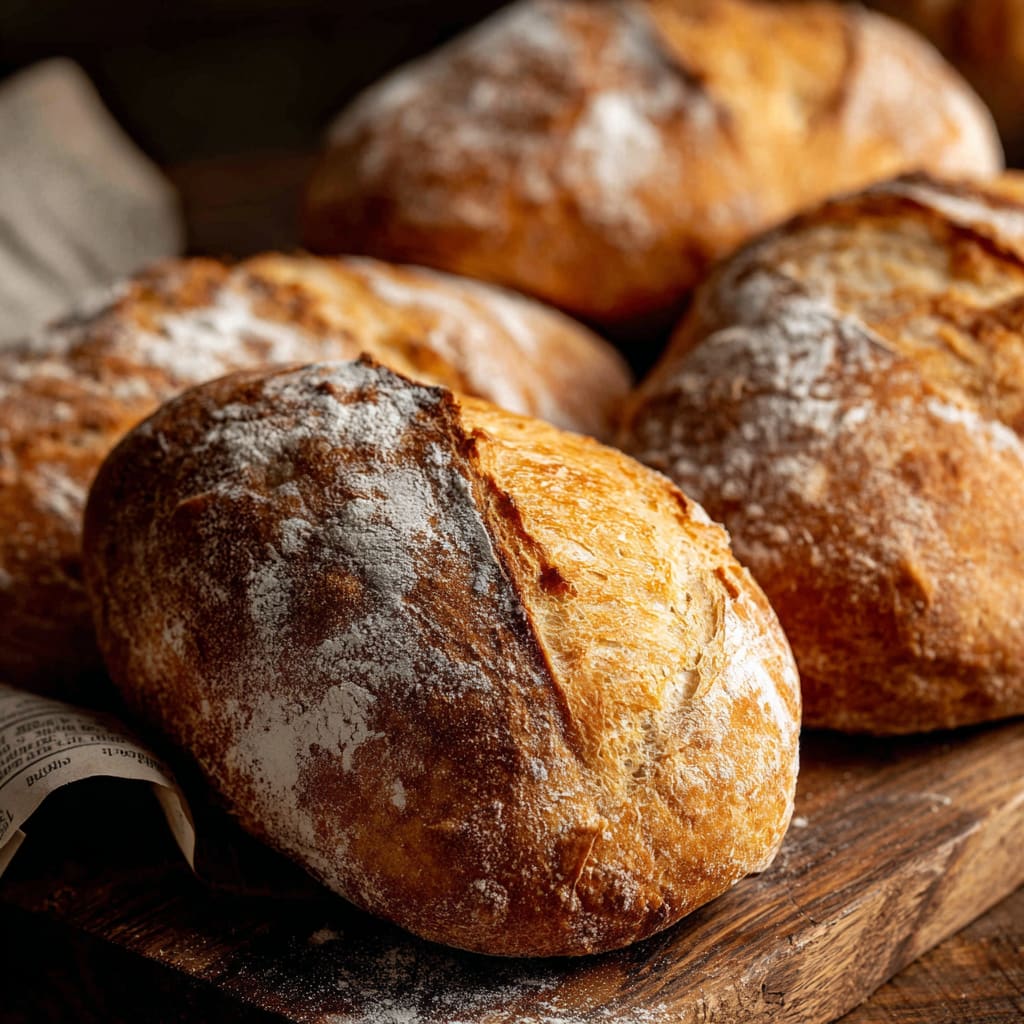
Imagine biting into a Easy Small Batch Ciabatta Roll with its crispy, golden crust giving way to a tender, airy interior filled with beautiful holes. These rustic Italian bread rolls offer that perfect combination of chewy texture and delicate crumb that makes artisanal bread so irresistible. Making Easy Small Batch Ciabatta Rolls at home might seem intimidating, but this recipe simplifies the process while maintaining the authentic characteristics that make ciabatta so special. You’ll learn how to achieve those signature air pockets and distinctive texture without spending all day in the kitchen, using just a few basic ingredients and some simple techniques that yield professional-quality results.
Why You’ll Love This Recipe
These Easy Small Batch Ciabatta Rolls are a game-changer for home bakers of all skill levels. The small batch format means you can enjoy freshly baked ciabatta without dealing with excess rolls or committing to a lengthy baking process. The contrast between the crispy, flour-dusted exterior and the soft, open crumb interior creates a sensory experience that store-bought bread simply cannot match.
What makes these rolls truly special is their versatility. They’re sturdy enough to hold up to hearty sandwich fillings yet delicate enough to soak up the last bits of sauce from your favorite pasta dish. The high hydration dough creates those signature irregular air pockets that capture melting butter or olive oil perfectly.
Despite their artisanal appearance, these homemade ciabatta rolls require no special equipment—just your hands and basic kitchen tools. The no-knead technique actually makes this easier than many other bread recipes, as the dough develops strength through a simple stretch-and-fold method rather than extensive kneading.
Ingredients List for the Easy Small Batch Ciabatta Rolls
These simple ingredients create the magic of authentic Italian ciabatta, with the high water-to-flour ratio being the key to achieving those characteristic large air pockets and chewy texture.
- 1 teaspoon instant yeast
- 240 grams water, at room temperature (approximately 1 cup)
- 300 grams all-purpose flour (approximately 2.5 cups)
- 1 teaspoon salt
Pro Tips
For truly exceptional Easy Small Batch Ciabatta Rolls, focus on these three critical techniques:
First, respect the wet dough. At 80% hydration, this ciabatta dough will be significantly wetter and stickier than standard bread dough. Resist the urge to add more flour! Instead, keep your hands and work surfaces lightly moistened with water when handling the dough during the initial phases. This prevents sticking while preserving the high hydration level necessary for those beautiful air pockets.
Second, be gentle when shaping. The goal is to preserve the air bubbles that develop during fermentation. Use a light touch when performing the stretch and folds, and avoid pressing or degassing the dough when shaping the rolls. This gentle handling maintains the open, airy crumb structure that defines great ciabatta.
Third, create steam in your oven. The water pan and spray technique mentioned in the instructions isn’t optional—it’s essential for developing that crackly, crisp crust. The steam allows the dough to expand fully before the crust sets, leading to maximum rise and the perfect contrast between exterior and interior textures.
Instructions
Prepare the Dough (1 hour rise time):
1. In a small cup, dissolve instant yeast in lukewarm water and stir to mix together (the mixture should start to bubble and develop a yeasty aroma). Let it sit for 2 minutes.
2. In a large bowl, add flour and salt. Pour in yeast mixture and whisk until fully combined, scraping down the sides of the bowl (there should be no dry flour particles visible). The mixture is very sticky and wet, with an 80% hydration (flour to water ratio).
3. Cover the bowl with plastic wrap and let it sit at room temperature for 1 hour (Note that a higher room temperature will speed up the fermentation process and will cause the dough to rise faster).
Stretch and Fold the Dough (1.5 hour rise time):
1. Apply some water onto your hands and stretch and fold the dough in the bowl by folding the edges into the centre, one edge at a time. Wet hands make it easier to work with the dough and it should take you less than a minute to fold all 4 sides. Cover with plastic wrap and let the dough rest for 30 minutes.
2. Repeat this stretch and fold step, then cover with plastic wrap and let the dough rest for another 30 minutes. Then, repeat the stretch and fold step a final time and let it rest for another 30 minutes. After 3 rounds of stretch and folds with 30 minute resting periods, the dough will rise and approximately double in size.
Shape the Dough (40 minutes rise time):
1. Transfer dough to a floured surface. Note that the dough will still be very sticky and that is okay. Sprinkle dough with a little flour and shape it into a rectangle by gently pulling the dough from underneath. Be careful not to press the dough because the air holes trapped inside might get squeezed out.
2. Roll the dough into a log and press the edge to seal. Divide the rolled dough into 4-5 equal parts, and place each piece at least two inches apart, onto a well-floured work surface. Let the dough rest for about 40 minutes. This is called the final proofing.
Bake the Ciabatta Rolls:
1. Carefully transfer each dough onto a parchment-lined 8×12-inch baking tray. Because the dough is still quite sticky, dust with flour to help with handling it. Set aside.
2. Fill a baking pan with water and place it in the bottom of your oven. Preheat the oven to 420 F, and allow it to fill with steam from the water. When the oven is ready, slide the baking tray in and spray some water over the dough immediately. Bake for 20 minutes.
3. Let the bread cool for 20 minutes. To check if the bread is done, you can tap the bottom of the bread with your finger. The bread will sound hollow when they are done.
Variations
Herb Infused Small Batch Ciabatta: Add 2 tablespoons of finely chopped fresh rosemary and 1 tablespoon of fresh thyme to the dry ingredients before mixing. This aromatic variation pairs beautifully with olive oil for dipping or as an accompaniment to soups and stews.
Whole Wheat Blend Ciabatta Rolls: For a more nutritious option, substitute 100 grams of the all-purpose flour with whole wheat flour. This creates a nuttier flavor profile while maintaining good rise. You may need to add an extra tablespoon of water to account for the whole wheat flour’s higher absorption.
Garlic Parmesan Small Batch Ciabatta: After the second stretch and fold, gently incorporate 2 finely minced garlic cloves and ¼ cup of grated Parmesan cheese. This savory variation makes exceptional sandwich rolls, especially for Italian-style fillings.
Storage and Serving
These Easy Small Batch Ciabatta Rolls are best enjoyed on the day they’re baked when the contrast between crispy crust and chewy interior is at its peak. Store any leftover rolls in a paper bag at room temperature for up to two days to preserve their texture. For longer storage, freeze the completely cooled rolls in a freezer-safe bag for up to one month. Revive frozen or day-old rolls by spritzing with water and heating in a 350°F oven for 5-7 minutes.
These versatile rolls shine as the foundation for gourmet sandwiches—try them with prosciutto, fresh mozzarella, basil, and a drizzle of balsamic glaze for an Italian-inspired treat. They also make excellent dipping vehicles for hearty soups or stews, soaking up the flavors without disintegrating. For a simple appetizer, slice the rolls in half, brush with olive oil, sprinkle with salt, and toast lightly before serving with tomato bruschetta or your favorite dip.
FAQs
Why is my ciabatta dough so wet and sticky?
The high hydration level (80% water-to-flour ratio) is intentional and essential for creating those beautiful holes in the finished bread. Resist adding more flour—instead, use water on your hands to handle the dough during the stretch and fold process.
Can I use active dry yeast instead of instant?
Yes, but you’ll need to proof it first. Dissolve the active dry yeast in the water with a pinch of sugar and wait 5-10 minutes until foamy before adding to the flour mixture.
Why didn’t my ciabatta rolls get those big air holes?
Two common causes: either the dough wasn’t wet enough (adding too much flour during handling) or the dough was handled too roughly, deflating the air bubbles. Remember to be gentle when shaping and transferring the dough.
Can I make these ahead of time?
You can prepare the dough through the stretch and fold stage, then refrigerate overnight for the final rise. This actually improves flavor development. Let the dough come to room temperature for 30-45 minutes before shaping and baking.
How can I tell when my small batch ciabatta rolls are properly proofed?
Properly proofed dough will have increased in size by about 50% and will slowly spring back when gently poked with a floured finger, leaving a slight indentation that gradually fills back in.

Easy Small Batch Ciabatta Rolls
- Prep Time: 15 mins
- Cook Time: 30 mins
- Total Time: 45 mins
- Yield: 4 people 1x
- Category: Lunch
- Method: Cooking
- Cuisine: American
Description
Looking to bake your own bread at home? Try these Easy Small Batch Ciabatta Rolls for a delicious result! Discover how to make them today.
Ingredients
- 1 teaspoon instant yeast
- 240 grams water, at room temperature (approximately 1 cup)
- 300 grams all-purpose flour (approximately 2.5 cups)
- 1 teaspoon salt
Instructions
Prepare the Dough (1 hour rise time):
- Step 1: In small cup, dissolve instant yeast in lukewarm water and stir to mix together (the mixture should start to bubble and develop a yeasty aroma). Let it sit for 2 minutes.
- Step 2: In a large bowl, add flour and salt. Pour in yeast mixture and whisk until fully combined, scraping down the sides of the bowl (there should be no dry flour particles visible). The mixture is very sticky and wet, with an 80% hydration (flour to water ratio).
- Step 3: Cover the bowl with plastic wrap and let it sit at room temperature for 1 hour (Note that a higher room temperature will speed up the fermentation process and will cause the dough to rise faster).
Stretch and Fold the Dough (1: 5 hour rise time)
- Step 1: Apply some water onto your hands and stretch and fold the dough in the bowl by folding the edges into the centre, one edge at a time. Wet hands make it easier to work with the dough and it should take you less than a minute to fold all 4 sides. Cover with plastic wrap and let the dough rest for 30 minutes.
- Step 2: Repeat this stretch and fold step, then cover with plastic wrap and let the dough rest for another 30 minutes. Then, repeat the stretch and fold step a final time and let it rest for another 30 minutes. After 3 rounds of stretch and folds with 30 minute resting periods, the dough will rise and approximately double in size.
Shape the Dough (40 minutes rise time):
- Step 1: Transfer dough to a floured surface. Note that the dough will still be very sticky and that is okay. Sprinkle dough with a little flour and shape it into a rectangle by gently pulling the dough from underneath. Be careful not to press the dough because the air holes trapped inside might get squeezed out.
- Step 2: Roll the dough into a log and press the edge to seal. Divide the rolled dough into 4-5 equal parts, and place each piece at least two inches apart, onto a well-floured work surface. Let the dough rest for about 40 minutes. This is called the final proofing.
Bake the Ciabatta Rolls:
- Step 1: Carefully transfer each dough onto a parchment-lined 8×12-inch baking tray. Because the dough is still quite sticky, dust with flour to help with handling it. Set aside.
- Step 2: Fill a baking pan with water and place it in the bottom of your oven. Preheat the oven to 420 F, and allow it to fill with steam from the water. When the oven is ready, slide the baking tray in and spray some water over the dough immediately. Bake for 20 minutes.
- Step 3: Let the bread cool for 20 minutes. To check if the bread is done, you can tap the bottom of the bread with your finger. The bread will sound hollow when they are done.
Notes
Try This Recipe and Leave a comment Below, your opinion matters to me!
Nutrition
- Serving Size: 4 serving
- Calories: 400
- Sugar: 5g
- Sodium: 400mg
- Fat: 10g
- Saturated Fat: 3g
- Unsaturated Fat: 7g
- Trans Fat: 0g
- Carbohydrates: 40g
- Fiber: 5g
- Protein: 15g
- Cholesterol: 50mg


