
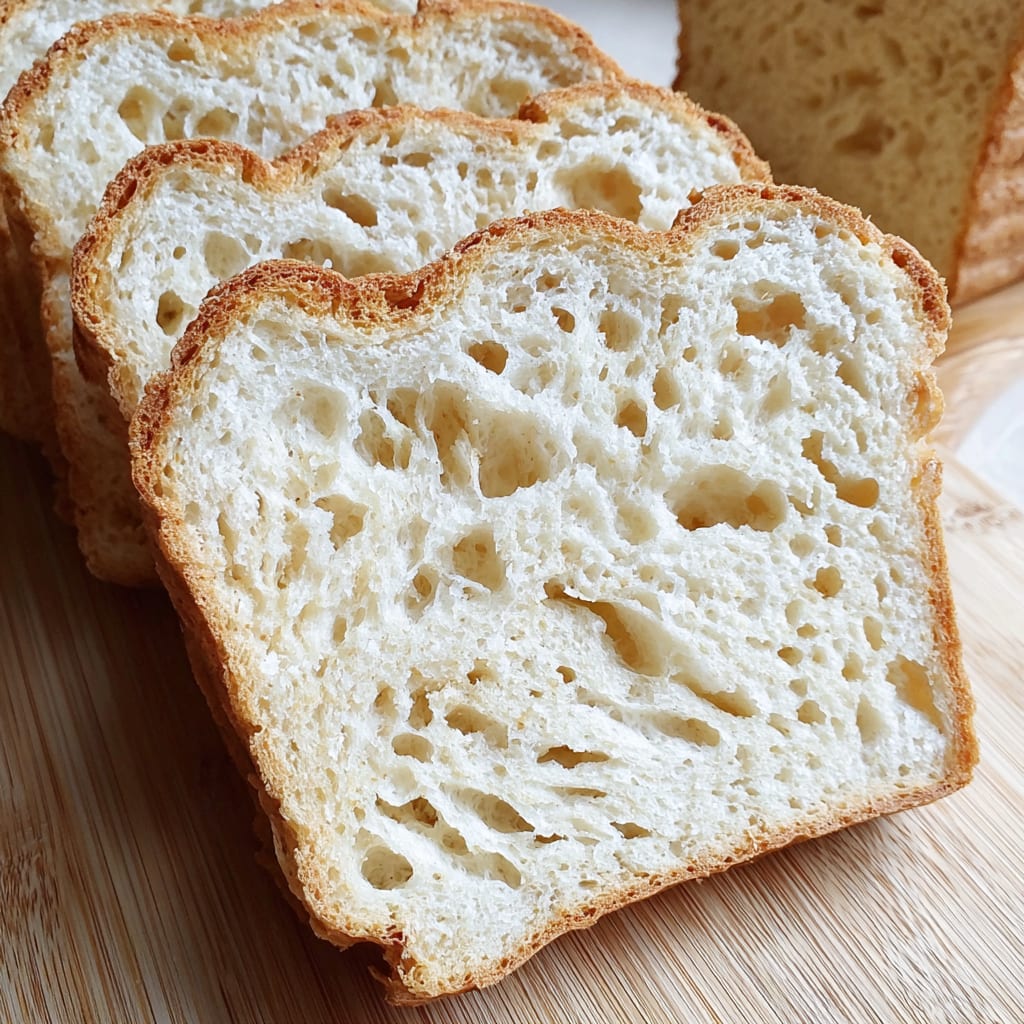
Imagine sinking your teeth into a slice of warm, pillowy Soft Homemade Gluten-Free Bread with a perfectly golden crust that actually tastes like real bread. This isn’t just another dense, crumbly gluten-free disappointment—this recipe delivers that elusive, tender crumb that gluten-free bakers dream about. Whether you’re newly gluten-free or a seasoned baker, this Soft Homemade Gluten-Free Bread will revolutionize your sandwiches, toast, and overall bread experience. You’ll learn the exact techniques to achieve the perfect rise, how to blend flours for optimal texture, and the secrets to avoiding that gritty texture that plagues many gluten-free recipes.
Why You’ll Love This Recipe
This Soft Homemade Gluten-Free Bread recipe stands head and shoulders above store-bought alternatives for several compelling reasons. First, the texture achieves what many consider impossible—a soft, airy crumb with just the right amount of chew that closely mimics traditional wheat bread. The blend of rice flour, tapioca starch, and sorghum flour creates a balanced flavor profile that’s subtly sweet and nutty without the strange aftertaste common in commercial gluten-free breads.
Unlike many gluten-free recipes that require obscure ingredients, this bread uses readily available flours and simple techniques. The dough comes together quickly, making it practical for weekly baking without spending hours in the kitchen. Plus, you’ll enjoy the therapeutic process of creating something truly special from scratch.
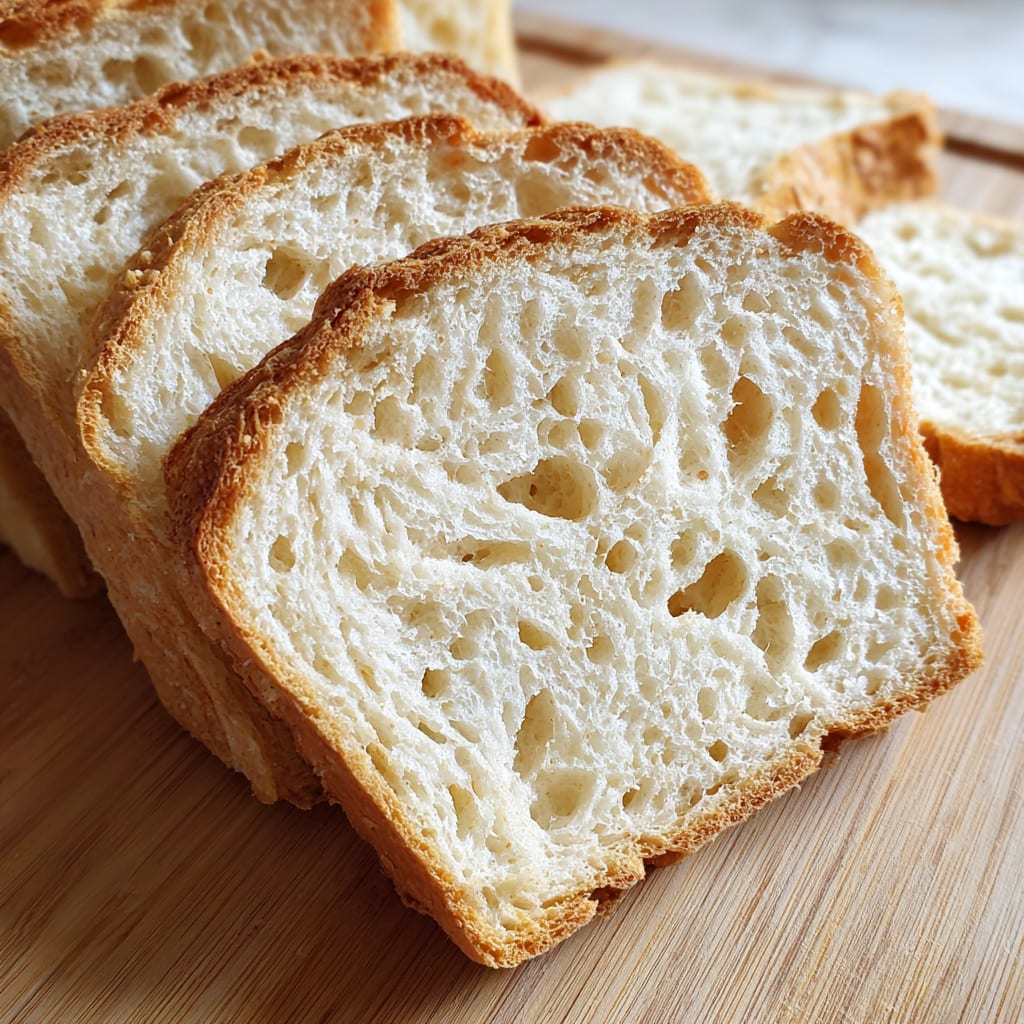
Perhaps most importantly, this homemade loaf offers significant cost savings compared to premium gluten-free breads that can cost $7-9 per loaf. With each slice, you’ll experience the contrast between the slightly crisp crust and the tender interior—a textural delight that’s rare in the gluten-free world.
Ingredients List for the Soft Homemade Gluten-Free Bread
These carefully selected ingredients work together to create the perfect structure and flavor in your gluten-free bread. The specific ratio of different flours provides the ideal texture, while xanthan gum replaces the elasticity normally provided by gluten.
- 1/4 cup warm water (about 100F/37C)
- 2 tbs honey
- 4.5 grams active yeast
- 260 g rice flour (white or brown is fine)
- 80 g tapioca starch (same as tapioca flour)
- 60 g sorghum flour (can substitute with buckwheat or oat flour)
- 4.5 grams xanthan gum
- 2 grams salt
- 3 eggs (room temperature)
- 1 tbs apple cider vinegar
- 1 1/4 cup water (about 100F/37C)
- 1/4 cup light olive oil (or any neutral flavored oil)
Pro Tips
Achieving perfect gluten-free homemade bread requires attention to a few critical details that can dramatically improve your results. First, temperature control is essential—ensure your water is around 100°F (37°C), which feels just barely warm to the touch. Too hot and you’ll kill the yeast; too cool and your bread won’t rise properly. Use a thermometer until you develop a feel for it.
Second, measuring by weight rather than volume delivers consistent results every time. This is particularly important with gluten-free flours, which can compact significantly. If you don’t have a kitchen scale, fluff your flour with a fork before spooning it into measuring cups and leveling off with a knife.
Finally, don’t rush the cooling process. While it’s tempting to slice into warm bread, cutting too soon can collapse the structure and create a gummy texture. Allow your Soft Homemade Gluten-Free Bread to cool completely on a wire rack for at least two hours before slicing with a serrated knife. This patience will reward you with perfect slices that hold together beautifully.
Instructions
Step 1: Combine 1/4 cup warm water with 2 tbs honey and stir well. Mix in the yeast and let sit for 10 minutes to proof.
Step 2: Combine all dry ingredients in large mixing bowl and whisk together well.
Step 3: Add yeast mixture, 1 1/4 cups warm water, 1/4 cup oil, eggs, and apple cider vinegar to the dry ingredients.
Step 4: Using a hand or stand mixer, beat mixture for 1-2 minutes, scraping down sides of the bowl halfway. Dough will be like batter.
Step 5: Scoop bread batter into parchment lined loaf pan and tap pan on the counter a couple of times to help the dough fill the corners.
Step 6: Place bread dough in a warm location to rise for approximately 1 hour, checking after 45 minutes. The center of the loaf should be no more than 1/4″ above the edge of the loaf pan. (See note below.)
Step 7: Preheat oven 350 deg F (180 C).
Step 8: Bake uncovered for 45-60 minutes, until internal temperature taken with an instant-read thermometer registers at least 200F/93C.
Step 9: Let bread rest in the pan for 5 minutes before transferring to a cooling rack. Let cool completely before slicing.
Variations
The beauty of this Soft Homemade Gluten-Free Bread recipe lies in its adaptability. For a dairy-free version that maintains the same tender texture, simply use a plant-based oil like avocado or coconut oil. Those following egg-free diets can substitute the eggs with a mixture of 3 tablespoons of applesauce plus 1 teaspoon of baking powder per egg, though expect a slightly denser result.
For a fiber-rich alternative, replace the white rice flour with brown rice flour and add 2 tablespoons of flaxseed meal to the dry ingredients. This creates a more nutritionally dense loaf with a pleasant nutty undertone. Herb enthusiasts might enjoy folding in 2 teaspoons of dried rosemary, thyme, or Italian seasoning blend for an aromatic savory bread perfect for serving alongside soups and stews.
Seeds and nuts can add wonderful texture—try folding in 1/3 cup of sunflower seeds, pumpkin seeds, or chopped walnuts after mixing the batter for a rustic artisan-style gluten-free bread with added protein and healthy fats.
Storage and Serving
Proper storage is crucial for maintaining the quality of your Soft Homemade Gluten-Free Bread. Once completely cooled, store in an airtight container at room temperature for up to 3 days. For longer storage, slice the entire loaf, place parchment paper between slices, and freeze in a ziplock bag for up to 3 months. This way, you can remove individual slices as needed and toast them directly from frozen.
This versatile bread shines in numerous serving applications. For breakfast, toast thick slices and top with avocado, a poached egg, and microgreens for a nutrient-dense start to your day. Create gourmet grilled cheese sandwiches by pairing with sharp cheddar and caramelized onions. The bread also makes excellent French toast—simply soak slices in a mixture of egg, cinnamon, and a splash of vanilla before pan-frying in butter until golden.
For an elegant appetizer, brush thin slices with olive oil, toast until crisp, and serve as crostini topped with roasted vegetables and a dollop of creamy goat cheese. The slightly sweet undertones of this homemade gluten-free bread complement both sweet and savory applications beautifully.
FAQs
Why did my bread collapse after baking?
Over-proofing is usually the culprit. Watch your dough carefully during the rise—it should never rise more than 1/4 inch above the pan’s edge. In warm kitchens, check after 30 minutes. Using too much yeast can also cause collapse, so measure precisely.
Can I use a bread machine for this recipe?
Yes, but select the “gluten-free” setting if available. Otherwise, use a basic setting with only one rise cycle. Add ingredients in the order recommended by your machine’s manufacturer, typically liquids first, then dry ingredients with yeast last.
Why is my bread gritty or sandy in texture?
This usually happens when using coarse rice flour. Look for superfine rice flour or process regular rice flour in a food processor until finer. Allowing the batter to rest for 15-20 minutes before baking can also help the flours fully hydrate.
How can I get a browner crust?
Brush the top with an egg wash (1 beaten egg with 1 tablespoon water) before baking. For a darker finish, add a teaspoon of honey to the egg wash. You can also increase oven temperature to 375°F for the first 15 minutes, then reduce to 350°F.
Why does my bread have large holes or tunnels?
This typically occurs from overbeating the batter, which incorporates too much air. Mix only until ingredients are well combined, about 1-2 minutes. Tapping the pan firmly on the counter before baking also helps eliminate large air pockets.

Soft Homemade Gluten-Free Bread
- Prep Time: 15 mins
- Cook Time: 30 mins
- Total Time: 45 mins
- Yield: 4 people 1x
- Category: Breakfast
- Method: Cooking
- Cuisine: American
Description
Discover the secret to making soft homemade gluten-free bread with ease! Learn how to make this delicious recipe today.
Ingredients
- 1/4 cup warm water ((about 100F/37C))
- 2 tbs honey
- 4.5 grams active yeast
- 260 g rice flour ((white or brown is fine))
- 80 g tapioca starch ((same as tapioca flour))
- 60 g sorghum flour ((can substitute with buckwheat or oat flour))
- 4.5 grams xanthan gum
- 2 grams salt
- 3 eggs (room temperature)
- 1 tbs apple cider vinegar
- 1 1/4 cup water ((about 100F/37C))
- 1/4 cup light olive oil ((or any neutral flavored oil))
Instructions
- Step 1: Combine 1/4 cup warm water with 2 tbs honey and stir well. Mix in the yeast and let sit for 10 minutes to proof.
- Step 2: Combine all dry ingredients in large mixing bowl and whisk together well.
- Step 3: Add yeast mixture, 1 1/4 cups warm water, 1/4 cup oil, eggs, and apple cider vinegar to the dry ingredients.
- Step 4: Using a hand or stand mixer, beat mixture for 1-2 minutes, scraping down sides of the bowl halfway. Dough will be like batter.
- Step 5: Scoop bread batter into parchment lined loaf pan and tap pan on the counter a couple of times to help the dough fill the corners.
- Step 6: Place bread dough in a warm location to rise for approximately 1 hour, checking after 45 minutes. The center of the loaf should be no more than 1/4″ above the edge of the loaf pan. (See note below.).
- Step 7: Preheat oven 350 deg F (180 C).
- Step 8: Bake uncovered for 45-60 minutes, until internal temperature taken with an instant-read thermometer registers at least 200F/93C.
- Step 9: Let bread rest in the pan for 5 minutes before transferring to a cooling rack. Let cool completely before slicing.
Notes
Try This Recipe and Leave a comment Below, your opinion matters to me!
Nutrition
- Serving Size: 4 serving
- Calories: 400
- Sugar: 5g
- Sodium: 400mg
- Fat: 10g
- Saturated Fat: 3g
- Unsaturated Fat: 7g
- Trans Fat: 0g
- Carbohydrates: 40g
- Fiber: 5g
- Protein: 15g
- Cholesterol: 50mg


