

The irresistible aroma of warm, buttery BEST Homemade Cinnamon Rolls fresh from the oven creates an instant feeling of comfort and joy in any home. These pillowy-soft, swirled pastries strike the perfect balance between a tender, fluffy dough and a gooey, cinnamon-sugar filling that caramelizes while baking. Topped with a silky cream cheese frosting that melts slightly into every crevice, these homemade cinnamon rolls deliver bakery-quality results right from your kitchen. You’ll learn how to create perfectly risen dough, achieve that signature spiral, and master the ideal baking time for cinnamon rolls that will impress family and friends alike.
Why You’ll Love This Recipe
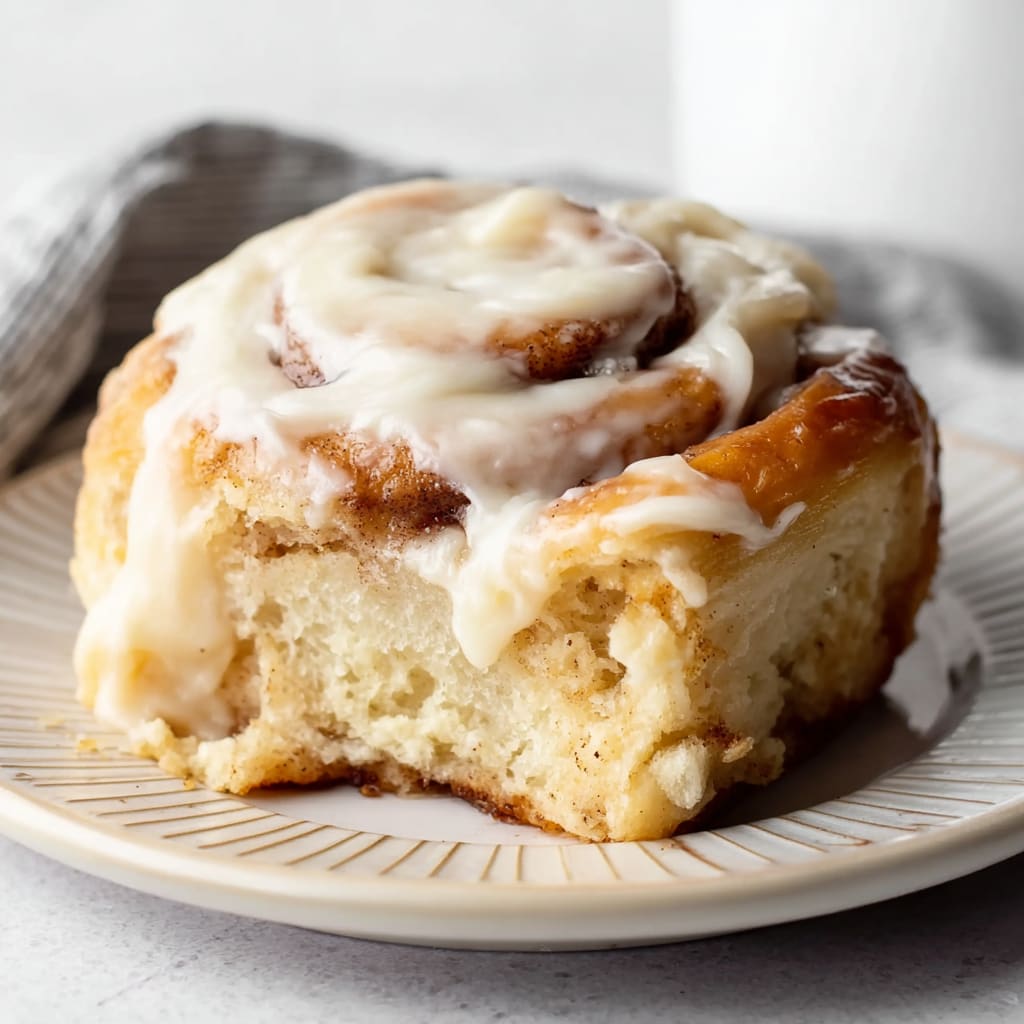
These BEST Homemade Cinnamon Rolls stand out from store-bought versions with their freshly-baked texture and customizable sweetness. Each bite offers delightful contrasts—the outer edge provides a slight resistance before giving way to the ultra-soft, pillowy interior. The brown sugar and cinnamon create pockets of sweet, spiced gooeyness that melt in your mouth, while the tangy cream cheese frosting balances the sweetness perfectly.
What makes these classic cinnamon rolls truly special is their approachability. Despite looking professional, the recipe uses simple ingredients and clear techniques that work even for baking beginners. There’s no overnight rise required, meaning you can satisfy your cinnamon roll craving the same day. The dough comes together easily without a stand mixer, making these rolls accessible for any home baker.
Best of all, these homemade cinnamon buns fill your home with an intoxicating aroma that creates instant warm memories—the kind that draw sleepy family members to the kitchen on weekend mornings.
Ingredients List for the BEST Homemade Cinnamon Rolls
These ingredients create the perfect balance of softness, sweetness, and that classic cinnamon roll flavor. The combination of butter, brown sugar, and cinnamon creates that signature gooey filling, while the cream cheese frosting adds the perfect tangy-sweet finish.
For the Dough:
- 4-5 cups (520g-650g) all-purpose flour, spooned and leveled
- 1/4 cup (50g) granulated sugar
- 2 1/4 teaspoons (1 package) instant yeast
- 1/2 teaspoon salt
3/4 cup (180mL) water
- 1/2 cup (120mL) whole milk
- 1/4 cup (60g) unsalted butter, cut into 4 slices
- 1 large egg, at room temperature
For the Filling:
- 6 tablespoons (85g) unsalted butter, very soft
- 3/4 cup (150g) packed brown sugar, light or dark
- 1 1/2 tablespoons ground cinnamon
For the Cream Cheese Frosting:
- 4 oz (115g) full fat block cream cheese, room temperature
- 5 tablespoons (70g) unsalted butter, room temperature
- 1 1/2 cups (195g) powdered sugar
- 1 teaspoon pure vanilla extract
Pro Tips
For truly outstanding BEST Homemade Cinnamon Rolls, focus on these three critical techniques:
First, pay attention to your dough consistency. The perfect dough should be slightly tacky but not sticky. Start with less flour than you think you need (about 4 cups) and add more gradually during kneading. When you press your finger into properly kneaded dough, it should spring back slightly while maintaining a soft texture. Over-floured dough creates tough, dense rolls instead of the pillowy texture we’re seeking.
Second, temperature control matters tremendously. Your liquid ingredients should be warm (about 110°F/43°C)—not hot, which would kill the yeast, and not cold, which would prevent proper activation. Room temperature ingredients for the frosting are equally crucial for that perfectly smooth consistency that spreads beautifully.
Finally, master the cutting technique. Using unflavored dental floss produces clean cuts that don’t compress the dough the way a knife might. This preserves those beautiful spiral layers and ensures even baking. If you must use a knife, choose a sharp, serrated one and use a gentle sawing motion rather than pressing straight down.
Instructions
Step 1: In a large bowl, combine 3 cups of flour (to start), sugar, yeast, and salt. Whisk to combine and set aside.
Step 2: In a medium microwave safe bowl or cup, combine water, milk, and sliced butter. Microwave in 10 second bursts until the butter just melts and the mixture feels warm but not hot. You can also do this with a pot placed on a stove burner set to low heat.
Step 3: Whisk the egg into the water mixture to combine.
Step 4: Pour the wet ingredients over the flour mixture. Using a wooden spoon, mix together until you have a very thick and sticky dough.
Step 5: Add another 1 cup of flour to the dough and mix until it starts coming together into ball.
Step 6: This next step can be done directly in your bowl or on a lightly floured work surface. Knead the dough, adding flour as needed to keep it from sticking to your hands / the sides of the bowl, until it’s smooth, elastic, and slightly tacky. If you poke the top of the dough, it should spring back – if the indent remains, the dough needs more kneading.
Step 7: Cover the dough and set aside for about 20 minutes. The dough will puff up slightly but won’t double in size. This is just to relax the gluten and make the dough easier to roll without it pulling in on itself.
Step 8: Turn the rested dough onto a lightly floured work surface and roll it out into a roughly 14×10 inch rectangle. Use your hands to press and pull the edges to get as nice of a rectangular shape as you can – it doesn’t have to be perfect though!
Step 9: Spread the softened butter over the dough, leaving a roughly 1/2 inch boarder along the edges. Sprinkle the sugar on top and use your hands to spread it out into an even layer over the butter. Finally, sprinkle the cinnamon evenly on top.
Step 10: Working from the longer side of the dough, roll it up into a log.
Step 11: Cut about 1/2 an inch off each end of the log (this just makes for nicer and more uniform rolls – you can bake them off separately or just skip this step if you don’t mind the appearance).
Step 12: Use a sharp serrated knife or unflavored dental floss to cut the log into 12 even rolls. If using a knife, cut the rolls using a sawing motion to prevent squishing. If using floss, break off a large string of unflavored dental floss and wiggle it under your log of dough positioned where you’d like to cut. Lift the ends of the floss up and over the log and cross to form an X. Pull on the ends of the floss to cut through the dough (see above post for visual).
Step 13: Arrange the rolls cut side up in a 9×13 inch baking dish. There should be a tiny bit of space between each roll but it’s fine if they’re touching.
Step 14: Cover the rolls and set aside in a warm place for about 45 minutes or until about doubled in size. My favorite place to keep cinnamon rolls during this time is in the oven (it shouldn’t be on or hot) just because it keeps the rolls safe from any cold drafts. They’ll be pressed up against each other once they puff up – that’s normal!
Step 15: Uncover the rolls and place into the center of your preheated oven. Bake for 25 to 30 minutes or until a nice golden brown on top. Set aside while you make the icing.
Step 16: In a medium sized bowl, combine icing ingredients. Using an electric mixer fitted with the paddle attachment or a wooden spoon by hand, cream together until smooth. If using a mixer, start on low speed just to incorporate everything together and then whip on medium speed to smoothen the mixture out.
Step 17: While the cinnamon rolls are still warm, spread the icing on top. It’ll melt slightly and make them extra gooey!
Variations
The beauty of these BEST Homemade Cinnamon Rolls is how easily they adapt to different flavor profiles. For a decadent twist, try adding 1/2 cup of finely chopped toasted pecans or walnuts to the filling mixture. The nuts add a wonderful textural contrast and nutty flavor that complements the cinnamon beautifully.
For orange-infused cinnamon roll perfection, add the zest of one orange to your dough and replace 1-2 tablespoons of milk in the frosting with fresh orange juice. The citrus brightens the rich flavors and adds a refreshing dimension that pairs wonderfully with the warm spice.
Those seeking a more indulgent version can create caramel pecan cinnamon roll heaven by pouring 1/2 cup of homemade or store-bought caramel sauce in the bottom of the baking dish before adding the rolls. After baking, flip the entire pan to reveal gloriously caramelized tops – similar to sticky buns but with all the beloved characteristics of classic cinnamon rolls.
Storage and Serving
These BEST Homemade Cinnamon Rolls stay fresh at room temperature in an airtight container for 2 days. For longer storage, refrigerate them for up to 5 days. To freeze, wrap individual unfrosted rolls tightly in plastic wrap and aluminum foil, then freeze for up to 3 months. Thaw overnight in the refrigerator and warm in a 300°F oven for 10-15 minutes before frosting.
For the ultimate serving experience, warm a refrigerated cinnamon roll in the microwave for 15-20 seconds. This revives the just-baked texture, making the roll soft and gooey again. Pair with a steaming cup of coffee for breakfast, or transform it into dessert by serving warm with a scoop of vanilla ice cream.
For brunch gatherings, arrange a platter of these homemade cinnamon buns alongside fresh fruit and savory breakfast dishes for a crowd-pleasing spread that balances sweet and savory perfectly.
FAQs
Can I make these cinnamon rolls ahead of time?
Yes! You can prepare the rolls through step 13, then cover tightly and refrigerate overnight. The next morning, remove from the refrigerator and let them come to room temperature and complete their second rise (about 1-2 hours) before baking.
Why didn’t my dough rise properly?
The most common reason is either the yeast was old/inactive or the liquid temperature was wrong. Make sure your yeast is fresh and that your milk mixture is warm (about 110°F) but not hot, which would kill the yeast.
Can I use active dry yeast instead of instant?
Yes, but you’ll need to activate it first. Mix the active dry yeast with the warm water and a pinch of the sugar, let it sit until foamy (about 5-10 minutes), then proceed with the recipe.
Why are my cinnamon rolls dry?
Overbaking is usually the culprit. Check your rolls at the 20-minute mark and look for golden brown tops. Also, using too much flour during kneading can lead to dry rolls.
Can I make these without cream cheese frosting?
Absolutely! A simple glaze of powdered sugar, vanilla, and milk makes a delicious alternative. Mix about 2 cups powdered sugar with 3-4 tablespoons of milk and 1 teaspoon vanilla extract until smooth.

BEST Homemade Cinnamon Rolls
- Prep Time: 15 mins
- Cook Time: 30 mins
- Total Time: 45 mins
- Yield: 4 people 1x
- Category: Breakfast
- Method: Cooking
- Cuisine: American
Description
Discover the BEST Homemade Cinnamon Rolls recipe for a sweet and satisfying treat. Learn how to make them from scratch.
Ingredients
- 4–5 cups (520g-650g) all-purpose flour, spooned and leveled
- 1/4 cup (50g) granulated sugar
- 2 1/4 teaspoons (1 package) instant yeast
- 1/2 teaspoon salt
- 3/4 cup (180mL) water*
- 1/2 cup (120mL) whole milk
- 1/4 cup (60g) unsalted butter, cut into 4 slices
- 1 large egg, at room temperature
- 6 tablespoons (85g) unsalted butter, very soft
- 3/4 cup (150g) packed brown sugar, light or dark
- 1 1/2 tablespoons ground cinnamon
- 4 oz (115g) full fat block cream cheese, room temperature
- 5 tablespoons (70g) unsalted butter, room temperature
- 1 1/2 cups (195g) powdered sugar
- 1 teaspoon pure vanilla extract
Instructions
- Step 1: In a large bowl, combine 3 cups of flour (to start), sugar, yeast, and salt. Whisk to combine and set aside.
- Step 2: In a medium microwave safe bowl or cup, combine water, milk, and sliced butter. Microwave in 10 second bursts until the butter just melts and the mixture feels warm but not hot. You can also do this with a pot placed on a stove burner set to low heat.
- Step 3: Whisk the egg into the water mixture to combine.
- Step 4: Pour the wet ingredients over the flour mixture. Using a wooden spoon, mix together until you have a very thick and sticky dough.
- Step 5: Add another 1 cup of flour to the dough and mix until it starts coming together into ball.
- Step 6: This next step can be done directly in your bowl or on a lightly floured work surface. Knead the dough, adding flour as needed to keep it from sticking to your hands / the sides of the bowl, until it’s smooth, elastic, and slightly tacky. If you poke the top of the dough, it should spring back – if the indent remains, the dough needs more kneading.
- Step 7: Cover the dough and set aside for about 20 minutes. The dough will puff up slightly but won’t double in size. This is just to relax the gluten and make the dough easier to roll without it pulling in on itself.
- Step 8: Turn the rested dough onto a lightly floured work surface and roll it out into a roughly 14×10 inch rectangle. Use your hands to press and pull the edges to get as nice of a rectangular shape as you can – it doesn’t have to be perfect though!
- Step 9: Spread the softened butter over the dough, leaving a roughly 1/2 inch boarder along the edges. Sprinkle the sugar on top and use your hands to spread it out into an even layer over the butter. Finally, sprinkle the cinnamon evenly on top.
- Step 10: Working from the longer side of the dough, roll it up into a log.
- Step 11: Cut about 1/2 an inch off each end of the log (this just makes for nicer and more uniform rolls – you can bake them off separately or just skip this step if you don’t mind the appearance).
- Step 12: Use a sharp serrated knife or unflavored dental floss to cut the log into 12 even rolls. If using a knife, cut the rolls using a sawing motion to prevent squishing. If using floss, break off a large string of unflavored dental floss and wiggle it under your log of dough positioned where you’d like to cut. Lift the ends of the floss up and over the log and cross to form an X. Pull on the ends of the floss to cut through the dough (see above post for visual).
- Step 13: Arrange the rolls cut side up in a 9×13 inch baking dish. There should be a tiny bit of space between each roll but it’s fine if they’re touching.
- Step 14: Cover the rolls and set aside in a warm place for about 45 minutes or until about doubled in size. My favorite place to keep cinnamon rolls during this time is in the oven (it shouldn’t be on or hot) just because it keeps the rolls safe from any cold drafts. They’ll be pressed up against each other once they puff up – that’s normal!
- Step 15: Uncover the rolls and place into the center of your preheated oven. Bake for 25 to 30 minutes or until a nice golden brown on top. Set aside while you make the icing.
- Step 16: In a medium sized bowl, combine icing ingredients. Using an electric mixer fitted with the paddle attachment or a wooden spoon by hand, cream together until smooth. If using a mixer, start on low speed just to incorporate everything together and then whip on medium speed to smoothen the mixture out.
- Step 17: While the cinnamon rolls are still warm, spread the icing on top. It’ll melt slightly and make them extra gooey!
Notes
Try This Recipe and Leave a comment Below, your opinion matters to me!
Nutrition
- Serving Size: 4 serving
- Calories: 400
- Sugar: 5g
- Sodium: 400mg
- Fat: 10g
- Saturated Fat: 3g
- Unsaturated Fat: 7g
- Trans Fat: 0g
- Carbohydrates: 40g
- Fiber: 5g
- Protein: 15g
- Cholesterol: 50mg


